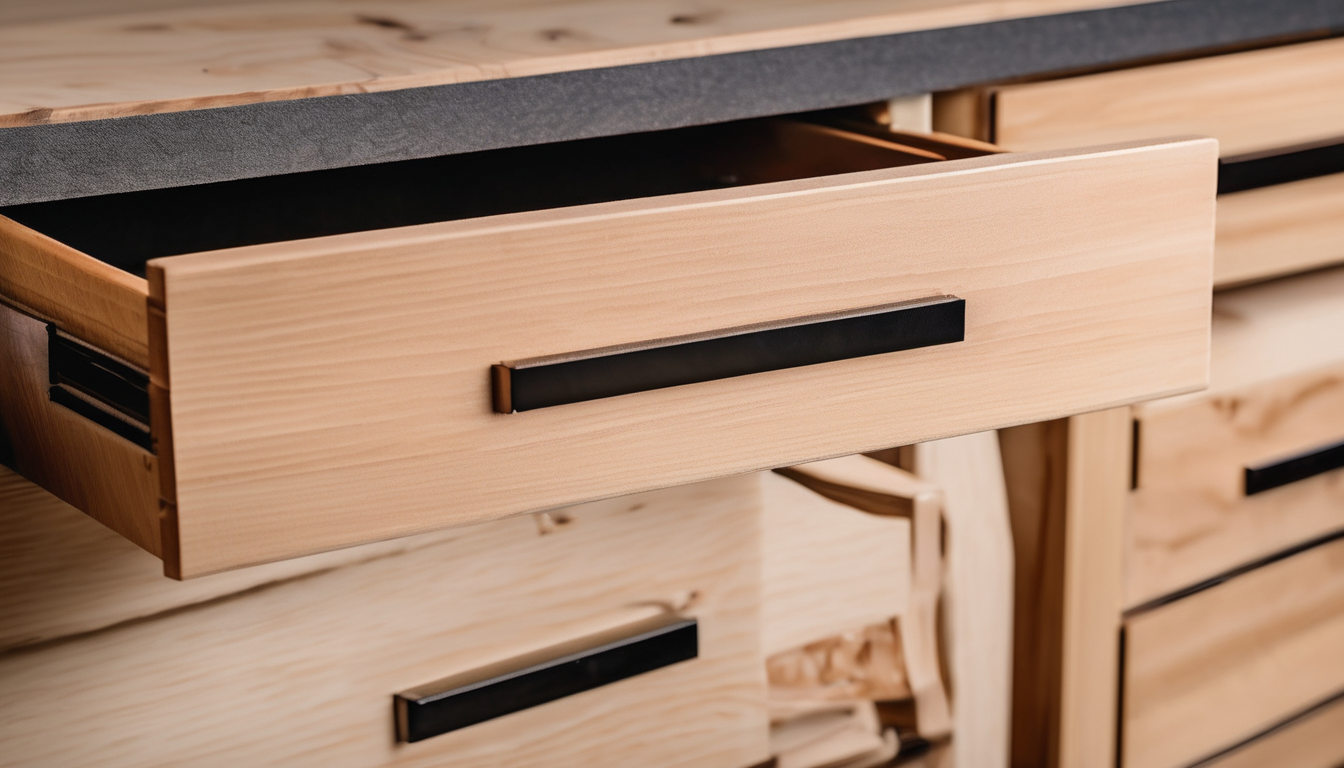
Box joints are a fast, repeatable way to make durable drawer boxes. How to Cut Perfect Box Joints for Strong Drawers is a practical skill that combines correct setup, accurate layout and careful glue‑up to produce tight, long‑lasting corners that often equal or exceed dovetails in glue strength when executed correctly.
In this guide I’ll take you through materials, tools, two common methods (table saw with a dado stack and router table with a box‑joint jig), and a 10‑step workflow you can follow in a small workshop in Bristol, Bath or anywhere in the South West. I’ll also compare box joints vs dovetail joints for drawers, suggest best timber species for durable drawer boxes and share workshop tips I’ve learned over years of joinery and restoration work. This relates directly to Cut Perfect Box Joints For Strong Drawers.
Understanding How to Cut Perfect Box Joints for Strong Drawers
Box joints (also called finger joints) are a series of interleaving square ‘fingers’ cut into the ends of drawer sides so they mesh to form a corner. How to Cut Perfect Box Joints for Strong Drawers starts with appreciating that strength comes from accurate geometry and full glue contact across the face of each finger.
Unlike dovetails, box joints rely primarily on glue surface area and accurate end grain contact rather than mechanical interlock; however, with generous glue area and tight fit, box joints are very strong and quick to produce for multiple identical drawers.
Cut Perfect Box Joints For Strong Drawers – Materials and Tools for Cutting Box Joints
Gather the right materials and tools before you start — this saves time and avoids mistakes.
- Material: hardwood or stable softwood, kiln‑dried, planed and square — typical choices: maple, oak, poplar, sapele or softwoods such as European pine for painted drawers.
- Adhesive: high‑quality PVA woodworking glue (Titebond or equivalent) and a small bottle of PVA for squeeze‑out cleanup.
- Tools (table saw method): table saw with flat top, dado stack (or stacked blades), table‑saw box‑joint jig or adjustable fence jig, push blocks, featherboards, marking tools.
- Tools (router table method): router table, straight cutter sized to finger width, commercial or homemade box‑joint jig, featherboards and sacrificial fence.
- Measuring and test: accurate rule, callipers, marking knife, square, and test blanks.
- Clamps: sash clamps or bar clamps and a corner caul for flatness.
- Safety: hearing protection, eye protection, and dust extraction.
Cut Perfect Box Joints For Strong Drawers: Preparation and Stock Dimensions
How to Cut Perfect Box Joints for Strong Drawers begins with correct stock preparation — planing faces flat and edges square reduces cumulative error when cutting multiple fingers.
Decide finger width: typical finger widths are 6–15 mm depending on drawer size and timber thickness; finer fingers increase glue area but require steadier setup. Common choices: 6 mm for small boxes, 9–12 mm for furniture drawers.
Calculate mating lengths: cut one side so fingers start at the end and the mating piece starts with a slot (or vice versa). A common rule is: if the number of fingers is odd, the joint finishes with a finger on both pieces; if even, one side ends with a slot. Plan layout on paper before you cut.
Setting Up Your Jig or Fixture (Table Saw & Router Table)
How to Cut Perfect Box Joints for Strong Drawers depends on a reliable jig. Use either a table‑saw jig with a spacer block and stop, or a router‑table jig with incremental indexing.
Table Saw + Dado Stack Setup
Install a dado stack matching the finger width. Set fence distance so the saw cuts at the correct offset from the jig face. Use a zero‑clearance insert or a sacrificial fence and use featherboards to keep stock tight to the fence. Test with scrap until the finger width and spacing are perfect.
Router Table Setup
Fit a straight cutter the same width as the finger, set fence so router bit cuts to the correct depth, and use a jig that advances the workpiece by the finger width each pass. A screw‑advance or indexing box‑joint jig yields very consistent spacing. When considering Cut Perfect Box Joints For Strong Drawers, this becomes clear.
Cutting Procedure — Step‑by‑Step
This section contains the core workflow. Follow every step carefully to achieve repeatable precision. How to Cut Perfect Box Joints for Strong Drawers can be summarised in these 10 expert steps.
- Set finger width and depth: Choose finger width and set dado/router bit width to match; set cut depth to full timber thickness so fingers go fully through the end grain if making through box joints.
- Make a test cut on scrap: Run a scrap through the jig to confirm width, spacing and tightness. Repeat until the test joint fits snugly with slight friction.
- Index and mark parts: Label each board A/B and face orientation. How to Cut Perfect Box Joints for Strong Drawers requires you keep parts paired so cumulative thickness and orientation remain consistent during assembly.
- Cut the first set of fingers: For the table saw method, register the board against the jig fence and make the series of cuts, using push blocks and featherboards for safety.
- Flip and cut mating piece: Place the mating board against the jig in the opposite orientation (or use the jig’s flip stop) and cut. The first finger should be complementary to the first cut piece.
- Work in batches: If making several drawer boxes, cut all pieces of the same orientation together; this reduces setup drift and keeps finger profiles identical.
- Deburr and clean up: Remove small burrs and tearout with a chisel or file. Avoid sanding finger faces — that can change width and spoil fit.
- Dry‑fit assembly: Assemble the corners without glue to check fit. There should be even contact along finger faces and a small resistance when fully seated.
- Adjust if necessary: If joints are too tight, pare the longest fingers with a sharp chisel; if too loose, consider light sanding of mating faces or remaking one side for precision.
- Final finish pass: If you used a router table, consider a light pass with a smoothing plane on the joint faces to ensure perfect mating before glue‑up.
Checking Fit and Fine‑Tuning
How to Cut Perfect Box Joints for Strong Drawers is largely about fit. Aim for a joint that assembles with light resistance — not so tight it splits the finger ends, and not so loose glue starves the joint.
Glue starvation is a real issue; ensure glue can get into the end grain areas. Use a thin‑viscosity PVA and apply glue to both faces; squeeze‑out is a good sign of full contact. If small gaps appear at the tips, they usually don’t affect strength as long as faces are fully contacting.
Glue‑Up and Assembly for Strong Drawers
Proper glue‑up techniques ensure your box joints are not just tight but durable under everyday use.
- Apply glue evenly to all faces. How to Cut Perfect Box Joints for Strong Drawers requires you to liberally apply a thin seam of PVA so it penetrates end grain.
- Assemble the corner, tapping with a scrap block to seat the joint. Ensure faces align flush and square at the corner; a clamp with plywood cauls can prevent marring.
- Clamp across both faces with biscuited sash clamps or two bar clamps forming a triangle to keep the corner 90° and prevent racking.
- Remove squeeze‑out with a damp cloth after initial set; final clean‑up after 10–15 minutes ensures tidy joints.
- Allow full cure per glue manufacturer — typically 24 hours for maximum strength at standard workshop conditions.
Boxing Up and Finishing Tips
After glue‑up and cure, plane or sand the top edges flat, check squareness and fit in carcase. How to Cut Perfect Box Joints for Strong Drawers benefits from reinforcing drawer bottoms with grooves or stopped rebates to carry the drawer base and share loads.
For painted drawers in local period houses (Bristol and surrounding counties), choose stable species like kiln‑dried softwood or poplar; for natural finishes, oak or maple give durable, attractive faces.
Box Joints vs Dovetail Joints for Drawers
Both joints are appropriate for drawers but differ in aesthetics and mechanical behaviour. How to Cut Perfect Box Joints for Strong Drawers emphasises speed and glue area; dovetails provide mechanical interlock that resists pulling forces more obviously.
Test reports and community experience show box joints often match or exceed dovetail strength when glue joints fail the wood first because box joints provide more glue surface area; however, dovetails resist racking and offer a traditional appearance, particularly for period furniture drawers where aesthetics matter[1][2].
Choose box joints when you need fast, repeatable production for multiple drawers, and consider dovetails for high‑end visible carcasses or where the interlocking geometry suits the design.[1][2]
Expert Tips and Key Takeaways
- Use test pieces: Always make and refine tests until the dry fit feels right — this saves remakes.
- Maintain consistent orientation: Label parts and keep track of grain direction to avoid mismatched pairs.
- Prefer more fingers: Finer fingers increase glue surface and distribute stress; aim for 8–12 fingers on typical drawer ends where space allows.
- Clamping method matters: Use two clamps set at right angles or a corner caul to maintain square glue‑up.
- Timber choice: For painted drawers choose stable softwoods or poplar; for natural finish choose oak or maple — all kiln‑dried and well acclimatised to your workshop humidity.
- Safety and dust control: Cutting many fingers produces fines — use dust extraction and PPE.
Conclusion
How to Cut Perfect Box Joints for Strong Drawers is a repeatable skill: accurate setup, consistent jig indexing, careful test fitting and disciplined glue‑up deliver strong, clean drawer corners. For workshops in Bristol, Somerset or the South West, box joints give a balance of speed, strength and a clean, modern look — while dovetails remain the choice when mechanical interlock or period aesthetics are required.
If you’d like, I can supply a printable table of finger counts vs drawer width, or a sketch for a screw‑advance box‑joint jig used on a router table — just tell me your drawer dimensions and preferred tool (table saw or router table) and I’ll adapt the steps to your parts. Understanding Cut Perfect Box Joints For Strong Drawers is key to success in this area.
