Dovetail Joint Layout Techniques for Period Drawer Boxes are the backbone of durable, authentic drawer construction in period homes. This buyer’s guide covers proven layout methods, tooling choices, common mistakes to avoid, and clear recommendations so you can select the right approach for your project.
Whether you restore a Georgian chest in Bristol or commission fitted drawers for a Somerset kitchen, understanding these dovetail joint layout techniques for period drawer boxes will help you buy the right tools, timber and services — and avoid costly mistakes.
Understanding Dovetail Joint Layout Techniques for Period Drawer Boxes
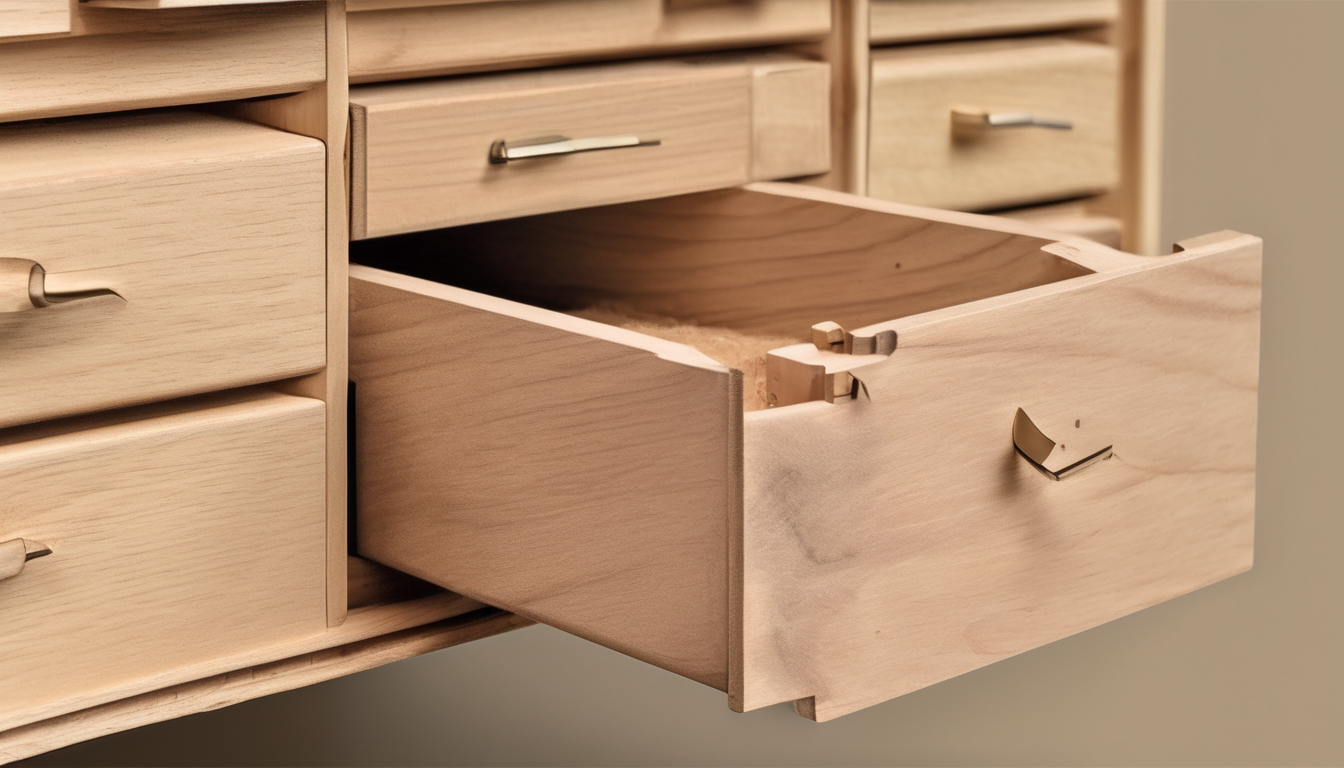
Dovetail Joint Layout Techniques for Period Drawer Boxes describe the marking and measurement steps used to transfer joint geometry from a design to the actual drawer members. These techniques include baseline marking, transfer layout, half-pin conventions, and tail-to-pin transfer — all essential to period-accurate joinery.
In period furniture the layout is as much about appearance as strength: half-blind dovetails (tails hidden in the drawer sides) or through dovetails (end grain visible) follow different layout conventions that affect how the drawer looks in situ, particularly in Georgian and Victorian cases in the South West UK.
Dovetail Joint Layout Techniques For Period Drawer Boxes – Why Layout Matters for Period Drawers
Correct layout ensures joints are tight, symmetrical and historically accurate; poor layout leads to weak joints, visible errors and repair work that damages value. For period properties in Bristol and surrounding counties, authenticity in joint proportion and spacing preserves character and resale value. This relates directly to Dovetail Joint Layout Techniques For Period Drawer Boxes.
Layout also determines how many dovetails you’ll cut, how the drawer bottom is fitted, and whether you end with a half-pin at the corner — an important visual cue on period drawer fronts.
Key Tools and Measuring Choices for Dovetail Joint Layout Techniques for Period Drawer Boxes
Choosing the right tools influences accuracy and buyer decisions. Essential items include:
- Marking gauge (set to board thickness) — baseline control is vital for consistent dovetail depth.
- T-bevel or sliding bevel — to set tail angles (many makers use 1:6 or 1:8, but setting by sample joint is common).
- Sharp marking knife and square — for crisp lines and precise saw kerfs.
- Dovetail saw, coping saw and chisels — for hand-cut work; dovetail jigs and router templates for production or repeatability.
- Calipers or rule with 1 mm graduations — for consistent pin/tail widths and to control density of joints across drawer width.
For buyers: hand tools cost from modest sums for a basic kit (£50–£250), while a quality dovetail router jig or dedicated dovetail saw set can push tool budgets to £500–£1,500+ depending on brand and features.
Step-by-step Layout Methods for Period Drawer Boxes
Below are established layout workflows used by experienced joiners and recommended for purchasers who want period-correct results.
1) Baseline and Thickness Marking
Start by setting your marking gauge to the board thickness and scribe baselines on all mating faces. This ensures the tails and pins register against the same baseline and the box sits square when assembled.
2) Edge Half-Pin Convention
Many period drawers use a half-pin at the outer edges for visual continuity across the drawer front. Mark a half-pin at each end first, then divide the remaining space for equal pins/tails — this yields the traditional look found on Georgian and Victorian drawers.
3) Tail-first Layout (Hand-cut Method)
Mark tails on the drawer front or pin board using your T-bevel, then cut tails first and transfer outlines to the side boards for pin location. This is the most common hand method and favoured for period-accurate dovetails.
4) Pin-first or Jig-assisted Methods
Some makers use pin-first layout or a router jig to cut pins or tails first; both are valid if you need repeatability. For buyers commissioning work, ask whether the maker lays out tails or pins first — tail-first often indicates hand-cut, bespoke craft; jig/pin-first often signals production methods. When considering Dovetail Joint Layout Techniques For Period Drawer Boxes, this becomes clear.
5) Transfer and Fit
After cutting, transfer tail angles to the pin boards using a thin marking knife or copying piece. Chisel to the baseline, test-fit without glue and refine until joints assemble with firm hand pressure.
Design Decisions: Sizing and Spacing for Period Drawer Dovetails
Choosing pin/tail proportions is both structural and aesthetic. Here are practical guidelines to help buyers and makers choose proportions that match period pieces:
- For narrow drawers (under 75 mm/3 in), use 1–2 dovetails; wider drawers (150–300 mm/6–12 in) commonly use 3–5 dovetails; large drawers often use more—match historical examples where possible.
- Equal-width pins and tails often maximise strength; historical work tends to favour slightly fatter tails with narrower pins for visual emphasis.
- Tail width around 5–8 mm (or proportionally larger for thicker stock) is common for period furniture; ensure you maintain at least 2–3 mm of wood between kerfs and edges to avoid splitting.
These sizing rules mirror traditional practice used by makers across the UK and are adaptable to the carcass thicknesses found in period drawer boxes.
Box Joint vs Dovetail for Period Drawer Boxes
Buyers choosing between box joints and dovetails should weigh appearance, strength, and historic accuracy.
- Strength: Dovetail joints resist withdrawal and shearing forces better, especially in long-term, heavy-use drawers.
- Appearance: Period furniture typically favours dovetails (through or half-blind) for visible, elegant joinery; box joints are more utilitarian and appear less authentic on Georgian/Victorian pieces.
- Production: Box joints are quicker with jigs and routers and may be cost-effective for modern fitted cabinetry; dovetails (hand-cut or jig-cut) command a premium and are a marker of quality.
If restoring or replicating period drawer boxes in Bath, Bristol, or nearby counties, dovetails are the recommended choice for authenticity and resale value; box joints are a sensible, lower-cost option for concealed or high-volume production drawers.
Timber and Materials Recommendations for Dovetail Drawer Boxes
Timber selection affects layout choices and final durability. Recommended species for period-style dovetail drawers include:
- Oak — traditional, strong and stable; excellent for visible joinery in period restorations.
- Walnut or mahogany — used historically in higher-end pieces for rich colour and fine grain.
- Softwoods (pine) — appropriate for internal, painted period drawer boxes; ensure thicker stock to accept robust dovetail layout.
- Engineered or stable plywood for drawer bottoms — routed groove or housing must be accounted for during layout.
When buying materials in the South West UK, look for responsibly sourced timber and consider moisture content: aim for 8–12% MC for interior furniture, measured with a hygrometer, to reduce layout and fit issues after assembly.
Common Mistakes and How to Avoid Them
Knowing typical mistakes will save time and money. Watch for these pitfalls when buying services, tools or timber:
- Skipping baseline marking — leads to uneven depths and poor fit. Always set and test the marking gauge before layout.
- Wrong board orientation — mislabelled faces cause mirrored joints. Label pieces and mark “OUT” and joint type during layout.
- Overly tight joints at first assembly — forcing damages edges; fit by incremental paring with chisels until a firm hand-fit is achieved.
- Incorrect half-pin placement — inconsistent look; mark half-pins first if replicating a period front and stick to convention across multiple drawers.
- Using unstable timber — fluctuating moisture will loosen joints. Buy kiln-dried stock and acclimatise it before layout and cutting.
Expert Tips and Key Takeaways
Practical advice from workshop practice and period restoration:
- Prefer tail-first hand layout for authenticity and better visual control on period drawer fronts.
- Start layout with half-pins at the front edges when matching period aesthetics; this keeps the drawer face visually continuous and historically correct.
- Use a thin copying piece or transfer method to ensure exact fit between tails and pins — especially important when you’ll fit an existing drawer front or a routed groove for the bottom.
- If commissioning work, ask whether the maker hand-cuts tails or uses a jig — hand-cut joints generally cost more but match period character and may age more gracefully.
- Budget guidance: bespoke hand-cut dovetail drawer restoration in the South West typically starts from around £200–£600 per drawer depending on timber and finish; supply quotes in £GBP and check references.
Conclusion
Dovetail Joint Layout Techniques for Period Drawer Boxes determine both the visual authenticity and structural longevity of repaired or new drawer boxes in period homes. Understanding layout basics (baselines, half-pins, tail-first transfer), the right tooling, timber choices and common errors will let you make informed purchasing choices — whether buying tools, timber, or commissioning a joiner in Bristol, Somerset or neighbouring counties.
When buying or commissioning work, prioritise makers who demonstrate consistent layout practice, use stable timber, and show sample joints. For period-accurate drawers, dovetails out-perform box joints for appearance and tradition — but box joints remain a pragmatic option for concealed or budget-limited work. Understanding Dovetail Joint Layout Techniques For Period Drawer Boxes is key to success in this area.
