<h2 id="introduction-to-live-edge-solid-wood-and-resin-breakfast-bar”>Introduction to Live Edge Solid Wood and Resin Breakfast Bar
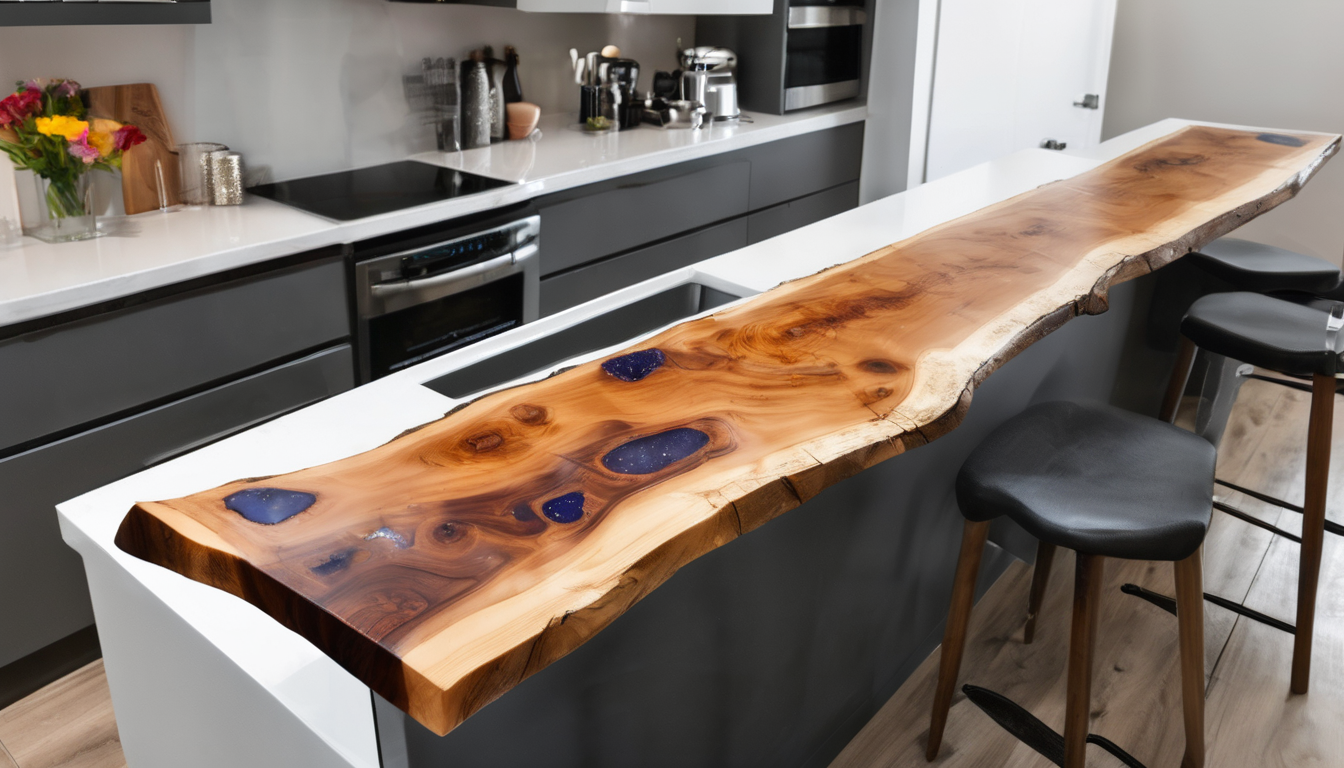
Creating a live edge solid wood and resin breakfast bar is an exciting blend of craftsmanship and artistry. This unique combination not only adds a touch of elegance but also brings together natural beauty with modern design elements. Whether you’re looking to enhance the aesthetics of your kitchen or create a statement piece for your dining area, this guide will walk you through every step of the process.
Table of Contents
Selecting the Right Materials for Your Project
Choosing the right materials is crucial when crafting a live edge solid wood and resin breakfast bar. Here are some key considerations to keep in mind:
– Timber Selection: Start by selecting high-quality timber that complements your kitchen’s aesthetic. Hardwoods like oak, walnut, or cherry offer durability and natural beauty. Look for slabs with interesting grain patterns and unique knots.
– Resin Type: Clear resin is the most common choice as it enhances the wood’s natural beauty without overpowering it. Choose a high-quality epoxy that offers clarity and resistance to yellowing over time.
Design Considerations for Live Edge Solid Wood and Resin Breakfast Bar
When designing your live edge solid wood and resin breakfast bar, think about the following:
– Size and Proportion: Ensure the dimensions of your breakfast bar fit comfortably in your kitchen. Measure the space carefully to avoid over or under-sizing.
– Functional Layout: Consider how you will use the breakfast bar. Will it be for dining, food preparation, or both? Design the layout to accommodate these functions efficiently.
Preparing the Live Edge Wood Slab
Once you have your wood slab, prepare it thoroughly:
– Surface Preparation: Sand the surface of the slab until smooth. Pay special attention to live edges and knots where sanding may be trickier.
– Cleaning: Clean the timber with a damp cloth followed by a dry one to remove any dust or debris. This ensures better adhesion between the wood and resin.
Pouring Clear Resin on Your Breakfast Bar
Resin pouring can be an art form itself:
– Mixing Resin: Follow the manufacturer’s instructions carefully to mix your resin thoroughly. Ensure it’s at the right temperature before application.
– Pouring Technique: Pour slowly and steadily, allowing air bubbles to escape naturally. Use heat guns or torches for larger pours if needed.
Installation and Fitting of the Breakfast Bar
Proper installation is crucial for longevity:
– Footing: Ensure your breakfast bar sits on a stable footing that supports its weight evenly. This may involve custom brackets or legs.
– Leveling: Use shims to level the breakfast bar and ensure it’s secure against any vibrations from appliances nearby.
Finishing Touches for a Perfect-Looking Breakfast Bar
Adding these finishing touches will elevate your creation:
– Sealing: Apply a clear sealant to protect the wood and resin. This helps resist spills and stains while maintaining its beauty.
– Cleaning: Regularly clean with mild soap and water, avoiding abrasive cleaners that can scratch the surface.
Expert Tips for Crafting a Live Edge Solid Wood and Resin Breakfast Bar
Here are some expert tips to ensure your project is successful:
– Pre-plan: Sketch out your design, including dimensions and resin placement. This helps avoid mistakes during construction.
– Practice: If you’re new to pouring clear resin, practice on smaller projects first to refine your technique.
FAQ About Live Edge Solid Wood and Resin Breakfast Bars
Some common questions answered:
– How do I choose the right wood? Consider the grain patterns, knots, and overall aesthetic of your kitchen. Hardwoods like oak are durable and visually appealing.
– What’s the best way to pour resin without bubbles? Pour slowly and steadily, allowing air to escape naturally. Heat guns or torches can help with larger pours.
—
Conclusion
Crafting a live edge solid wood and resin breakfast bar is a rewarding project that combines natural beauty with modern design elements. By following the tips outlined in this guide, you’ll be well on your way to creating a stunning focal point for your kitchen or dining area.
