Creating a river table in your Bristol workshop sounds exciting, but cloudy finishes, bubbles, or cracking epoxy can turn your dream project into a nightmare. Many woodworkers face these issues due to poor preparation, wrong epoxy choice, or rushed pours that cause exothermic heat buildup. The Best Epoxy Pouring techniques for flawless river tables solve these problems by focusing on preparation, premium resins, and controlled application.
In this problem-solution guide, you’ll learn proven methods I’ve used in Somerset and Gloucestershire commissions. Drawing from hands-on experience with live-edge oak slabs, we’ll cover everything from timber prep to final polishing. Whether you’re a DIYer in Bournemouth or a pro in Exeter, these best epoxy pouring techniques for flawless river tables deliver glass-like rivers that highlight natural grain.[1][2]
Best Epoxy Pouring Techniques For Flawless River Tables – Common Problems with Epoxy River Tables
River tables often fail from bubbles trapped during pours, caused by aggressive mixing or high humidity in damp Cornish climates. Excessive heat from thick pours leads to cracking, as epoxy exotherms uncontrollably. Uneven levelling results from poor slab sealing, leaving air pockets.[1][2]
Cloudiness stems from inferior resins that yellow under UV or moisture contamination. In Bristol’s variable weather, rushed cures exacerbate shrinkage. These issues waste £200-£500 in materials per table. The good news? The best epoxy pouring techniques for flawless river tables prevent them entirely.
Why These Problems Occur
Epoxy reacts chemically, generating heat that boils moisture into bubbles if not managed. Unsealed timber absorbs resin unevenly, causing fisheyes. Wrong brands lack deep-pour stability, vital for 50mm rivers.[4]
Choosing the Best Epoxy for River Tables
Select deep-pour epoxies rated for 25-50mm single layers to avoid layering hassles. UltraClear Deep Pour excels with 2x clarity and self-levelling at depth, ideal for live-edge rivers.[1] WiseBond Deep Pour handles up to 50mm pours with low VOC and high UV resistance, perfect for South West sunlight.[2]
TotalBoat and Pro Marine offer reliable alternatives; TotalBoat’s self-levelling suits bars, while Pro Marine resists heat for kitchen islands.[3][4][5] Expect £80-£150 for a 4-5 litre kit covering a 1.2m x 0.6m table. Always check 1:1 or 2:1 ratios for ease.
Top Brands Compared
| Brand | Depth per Pour | Key Strength | Price (4L Kit) |
|---|---|---|---|
| UltraClear[1] | 50mm | Ultra-clear, bubble-free | £120 |
| WiseBond[2] | 50mm | Low heat, UV stable | £110 |
| TotalBoat[3][5] | 6-12mm (topcoat) | Scratch-resistant | £90 |
| Pro Marine[4] | 25mm | Heat-resistant | £100 |
Preparing Timber Slabs for Epoxy Pours
Flawless results start with dry slabs under 10% moisture—test with a metre. Sand to 120-grit, seal voids with thin epoxy coat 24 hours prior. This prevents air bubbles in your river.[2]
Build a mould with 20mm melamine boards, seal joints with silicone. Level precisely; a 2mm tilt causes uneven rivers. In Wiltshire workshops, I clamp slabs securely to avoid shifts during pours.
Mastering the Best Epoxy Pouring Techniques for Flawless River Tables
The cornerstone of best epoxy pouring techniques for flawless river tables is slow mixing. Stir resin and hardener gently for 3-5 minutes, scraping sides to avoid unmixed spots. Use a heat gun post-mix to release bubbles—keep 10cm above for 20 seconds sweeps.[1]
Pour in a thin stream from 30cm height to break surface tension. Start at one end, flooding the river channel steadily. For 40mm depths, pour in two 20mm layers 12 hours apart to control heat.[2]
Layering Technique
- First pour: Fill 50% depth, torch lightly.
- Wait 12-24 hours at 20-25°C.
- Second pour: Top up, repeat torching.
Advanced Best Epoxy Pouring Techniques for Flawless River Tables
For metallic rivers, add mica pigments at 5% by volume post-mix—stir minimally to avoid air. In Gloucester commissions, I use alcohol inks for depth, dripped pre-pour. Vibrate the mould gently with an orbital sander to release trapped air without bubbles.[4]
Control exotherm with ice packs under the mould if ambient exceeds 25°C. These best epoxy pouring techniques for flawless river tables ensure pro results on spalted oak or walnut slabs.
Avoiding Common Epoxy Mistakes in River Table Builds and Fixes
Don’t pour under 12mm thick—deep pour epoxies need volume to cure properly.[2] Skip cheap hardware store resins; they yellow fast. Fix fisheyes by sanding and recoating with flame-retardant primer.
Humidity over 60% causes amine blush—wipe with vinegar post-cure. Over-torching yellows edges; limit to one pass. Master these fixes alongside best epoxy pouring techniques for flawless river tables for zero waste.
Quick Fixes Table
| Mistake | Cause | Solution |
|---|---|---|
| Bubbles | Fast mix | Torch + 24hr wait |
| Cracking | Heat buildup | Layer pours |
| Cloudy | Moisture | Seal slab |
Temperature and Curing Best Practices
Maintain 21-24°C during pours—use a space heater in drafty Plymouth sheds. Cure 72 hours before demoulding, 30 days for full hardness.[2] Low odour formulas like WiseBond suit home workshops.[2]
Post-pour, cover with a box to block dust. These controls make best epoxy pouring techniques for flawless river tables reliable year-round in Dorset’s damp winters.
Polishing and Finishing Your River Table
Demould, sand from 80-2000 grit wet. Buff with a polisher at 1500rpm using compound. Apply UV-protectant wax for longevity. This yields a mirror finish that rivals £2000 commissions.
Expert Tips for River Table Success
As a Bristol master carpenter, tip one: Source FSC-certified slabs from local mills for authenticity. Wear nitrile gloves—resin sensitises skin. Budget £300-£600 total for a 1.5m table. Suggest sources: WiseBond.com[2], TotalBoat.com[5], UltraClearEpoxy.com[1].
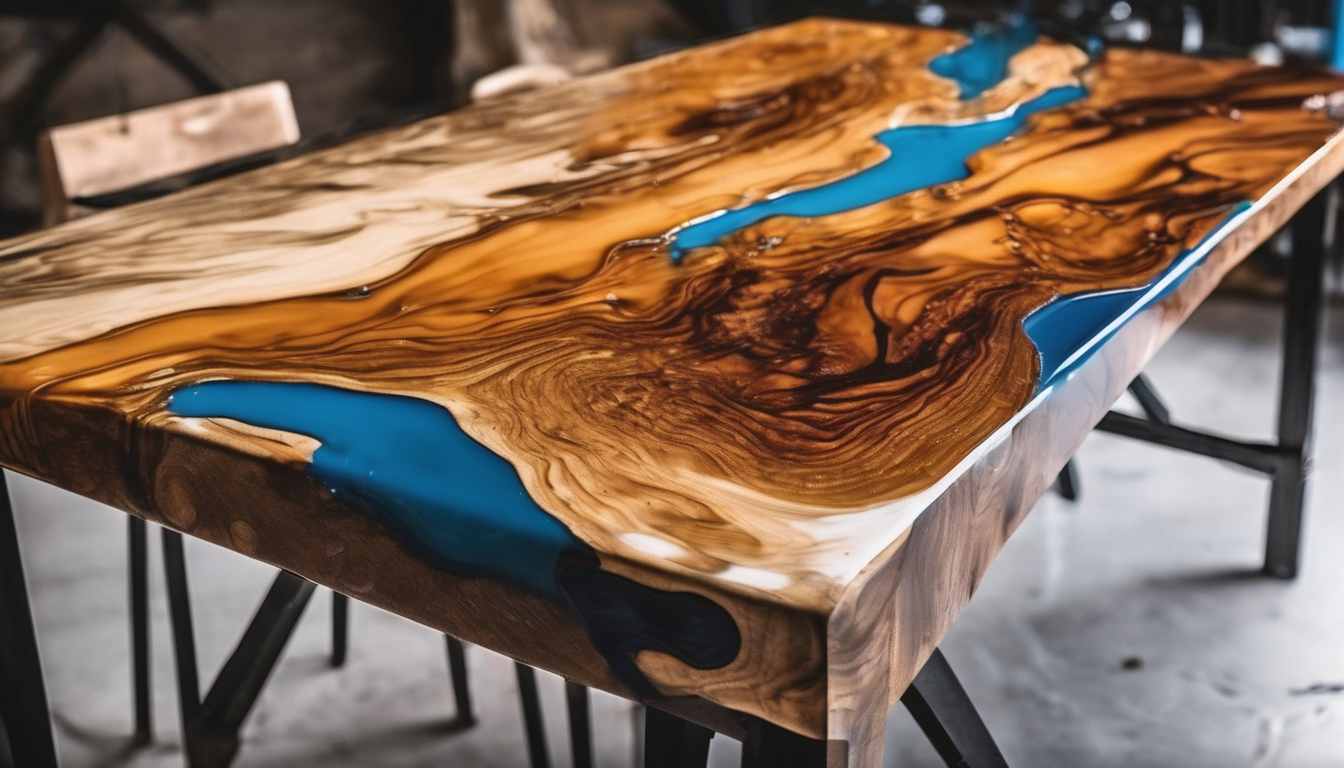
Image alt: Best Epoxy Pouring Techniques for Flawless River Tables – pouring clear resin into live-edge oak slab mould
Conclusion
Mastering the best epoxy pouring techniques for flawless river tables transforms challenges into stunning pieces that elevate Bristol homes. From UltraClear pours to layered techniques, these methods ensure bubble-free, durable results. Start your next project confidently—your flawless river table awaits.
