Installing skirting, architraves, and doors is a fundamental part of second fix carpentry that completes the finish and style of interior spaces. Whether you are a professional carpenter or an experienced DIYer, mastering this process ensures clean, aesthetic, and functional results. This Step-by-Step Guide to Installing Skirting, Architraves, and Doors will walk you through all critical phases from material preparation to fixing, finishing, and troubleshooting.
Second fix carpentry, defined as the work performed after plastering and initial construction phases, demands precision and attention to detail. Skirting boards protect walls and hide gaps, architraves frame doors and windows attractively, while door installation balances function with aesthetics. This guide draws on professional carpentry principles tailored for residential properties, ensuring you achieve durable and visually appealing finishes.
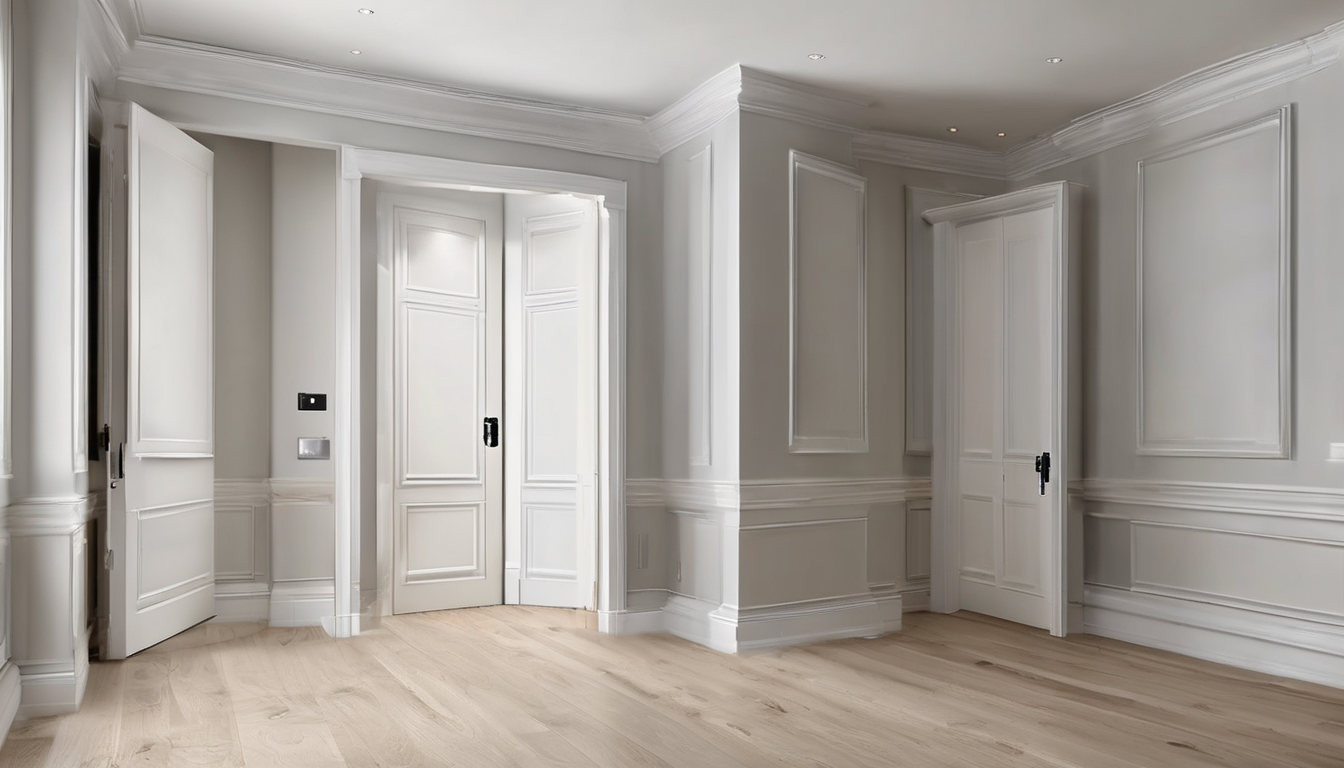
Understanding Step-by-Step Guide to Installing Skirting, Architraves, and Doors
Before beginning, it’s important to understand that skirting, architraves, and door installation fall under the second fix carpentry stage. This follows plastering and involves visible finish work requiring detailed precision. Skirting boards cover the joint between the wall and floor, protecting against damage and enhancing aesthetics. Architraves frame doors and windows, concealing expansion gaps and creating a finished look. Doors provide privacy and security, and their fitting requires correct frame positioning and hardware installation.
Recognizing this context highlights why the Step-by-Step Guide to Installing Skirting, Architraves, and Doors demands meticulous measurement, cuts, alignment, and fixing to achieve professional results.
Preparing Materials and Tools for Second Fix Carpentry
Effective preparation maximizes efficiency and accuracy. Choose skirting and architrave materials suited to your room’s style and timber type—MDF, hardwood, or softwood. Doors may be solid timber, veneer, or composite. Second fix carpentry demands smooth, primed surfaces ready for installation.
- Essential tools: Mitre saw or jig saw (for angled cuts), spirit level, measuring tape, pencil, hammer or nail gun, drill, clamps, chisels, screws, nails, carpentry adhesive, and filler.
- Material checks: Ensure timber is dry, straight, and defect-free. Acclimate timber in the room to reduce expansion/shrinkage after fitting.
Thorough preparation reflects on the quality and durability of your work.
Measuring and Marking for Precise Installation
Accurate measuring and marking are crucial foundational steps in the Step-by-Step Guide to Installing Skirting, Architraves, and Doors.
- Measure walls and openings carefully: Use a tape measure to check lengths of walls for skirting and the frame dimensions for architraves and doors.
- Mark cut lines clearly: When cutting skirting or architrave at corners, mark both internal and external mitre angles precisely, typically 45°.
- Check squareness: Use a spirit level and square tool to ensure lines are true, especially around door frames.
Double-check all measurements before cutting to avoid costly mistakes during installation.
Installing Skirting Boards Effectively
Skirting board installation follows several methodical steps to achieve a neat, flush finish that conceals wall-floor gaps.
Cutting and Joining
Cut skirting boards to length with a mitre saw, making mitred corners for seamless joints, or use a butt joint where walls meet at 90°. Internal corners are mitred inside, external corners outside.
Fixing to Walls
Apply construction adhesive to the back for additional hold and fix by nail or screw through the board into wall studs or fixing plugs. Countersink nails and fill holes for a smooth finish. Use wall plugs when attaching to masonry walls.
Alignment and Leveling
Use a spirit level during installation to keep skirting boards straight and consistent in height.
Fitting Architraves with Professional Touches
Architraves frame doors and windows, so they require precise cutting and fixing for an elegant finish.
Mitre Cutting for Corners
Cut architraves at 45° angles with a mitre saw, creating tight joints at corners. Use a shooting board and chisel to tidy up any uneven cuts.
Fixing Architraves
Nail or screw architraves directly to door frames or wall studs, ensuring the face sits flush against surfaces to conceal gaps perfectly.
Sealing and Filling
Fill nail holes and joints with wood filler or decorators caulk, then sand smooth before priming and painting or staining to match the room décor.
Door Installation Step-by-Step
Correct door fitting is essential for function and longevity. Follow these systematic steps:
Preparing the Frame
Check the door frame or lining for square and level. Shim where necessary to correct any misalignment, ensuring the door will hang properly without binding.
Hanging the Door
Mark and mortice hinge positions on door edge and frame using a hinge jig or template. Cut recesses cleanly with chisels so hinges sit flush.
Attach hinges first to the door, then fit the door into the frame and secure hinges with screws.
Installing Door Furniture
Cut holes for locks, handles, and latches following manufacturer specifications. Fit lock cases, strike plates, and handles, ensuring smooth operation.
Final Adjustments
Check the door swings freely without dragging on skirting or floor. Plane edges slightly if needed. Fill any visible screw holes, and apply final finishes.
Finishing Touches and Troubleshooting Second Fix Installations
Finishing is critical to a professional appearance:
- Sanding and Filling: Smooth all joints and edges thoroughly. Fill gaps with decorators caulk for seamless surfaces.
- Painting or Staining: Apply primer and finish coats suitable for timber and room conditions.
- Common problems: Misaligned doors, gaps at corners, loose fixings – fix with shimming, re-cutting, or additional fasteners as needed.
Taking the time for careful finishing ensures a durable and attractive outcome consistent with expert second fix carpentry standards.
Expert Tips for Successful Skirting, Architraves, and Door Installation
- Always pre-cut and dry-fit: Test fit all components without fixings to check alignment and joints.
- Use sharp tools: A clean cut ensures tight joints and seamless finishes.
- Work systematically: Fully complete skirting first, then architraves, followed by door hanging for best workflow.
- Account for expansion: Leave slight gaps where necessary, especially with MDF or softwoods prone to movement.
- Keep fixings hidden: Drive nails or screws slightly below surface and fill to maintain smooth, painted finishes.
Conclusion: Step-by-Step Guide to Installing Skirting, Architraves, and Doors
Mastering the Step-by-Step Guide to Installing Skirting, Architraves, and Doors is an essential skill within second fix carpentry that transforms unfinished interiors into polished, functional, and elegant spaces. Successful installation depends on precise measuring, careful cutting, diligent fixing, and meticulous finishing. By following these expert steps, carpenters and skilled DIYers alike can deliver high-quality results with longevity and style.
With practice, the process becomes intuitive, allowing confident handling of complex corners, fitting tight door frames, and achieving professional-grade finishes that respect both aesthetics and structural integrity.
